How to Clean a Laptop Keyboard Safely
In this post
- Before You Start: Power, Backups and Patience
- The Right Tools and the Ones to Avoid
- Step One: Remove Loose Dust and Crumbs
- Step Two: Wipe the Keycaps Gently
- Sticky Keys and Spills: What to Do First
- Should You Remove Keycaps?
- Cleaning Around the Keyboard and Staying Clean
- When Cleaning Is Not Enough
- Cleaning Different Keyboards: Membrane, Scissor and Mechanical Laptops
- How Often to Deep Clean, and What a Routine Looks Like
- Cleaning a Keyboard You Share, Borrow or Buy Second-Hand
- Keyboards, Health and the Way We Type
- My Take:
A laptop keyboard collects more than you notice. Dust settles between the keys, crumbs fall during lunch, skin oils build up on the most-used keys, and a single spill can turn a working keyboard into a sticky frustration. Cleaning it is not difficult, but laptops are more delicate than desktop keyboards. Keys are thinner, mechanisms are smaller, and liquid can reach the battery and internal parts quickly. The safe approach is simple: power down, use gentle tools, keep liquid away from openings, and clean in stages rather than trying to fix everything at once.
Before You Start: Power, Backups and Patience
Always shut the laptop down completely before cleaning, not just put it to sleep. Remove the charger and any connected accessories. If your battery is removable, and your manual allows it, removing it adds an extra layer of safety, although most modern laptops have sealed batteries that should be left alone. Wash and dry your hands first, because wet or greasy hands transfer more dirt to the keys. Work on a clean, flat surface with good light, so you can see dust and crumbs clearly.
Take a quick photo of your keyboard before you begin. This sounds unnecessary until a keycap comes off and you cannot remember its exact position, especially for small keys around the edges. A photo also helps you notice which keys were already worn or shiny before cleaning, so you do not blame the cleaning for normal wear. Finally, back up important work. Cleaning should not affect your files, but any maintenance is easier when you are not worried about an unsaved document.
The Right Tools and the Ones to Avoid
You need only a few gentle tools: a soft microfiber cloth, a soft-bristle brush or a clean makeup brush, a can of compressed air or a small manual air blower, cotton swabs, and a small amount of isopropyl alcohol, commonly sold as rubbing alcohol, at around 70 percent concentration. A slightly damp cloth is enough for most surface cleaning. For disinfection, health guidance during recent years has commonly supported wiping hard, non-porous surfaces with 70 percent alcohol, but always check your laptop maker’s guidance first, because coatings and materials differ.
Avoid paper towels, which can be rough and leave fibres, and avoid household cleaners, window sprays, bleach, and abrasive pads. These can damage key legends, screen coatings if splashed, and the finish of the laptop body. Avoid vacuum cleaners with strong suction near a laptop keyboard, because they can pull a keycap off or push debris deeper. Avoid hair dryers on a hot setting, which can warp plastic. If you use compressed air, hold the can upright, use short bursts, and keep the nozzle a few inches away. Tilting the can can release cold liquid propellant, which you do not want on electronics.
Step One: Remove Loose Dust and Crumbs
Start with the laptop closed or the keyboard facing down at a gentle angle over a bin or a clean surface. With the laptop powered off, tilt it slightly and tap the base very lightly so loose crumbs fall out. Do not shake it hard. Then hold it at about a 75-degree angle and use short bursts of compressed air across the keyboard, working from one side to the other. Keep the bursts short and let dust settle between passes. A soft brush can then sweep remaining dust toward the edges, where you can wipe it away.
This dry stage alone solves many problems. Dust under a key can make it feel gritty or inconsistent, and removing it often restores a normal feel. If a key still sticks after dry cleaning, the problem may be residue rather than dust, and that needs the damp-cleaning stage. Resist the urge to press a sticky key harder and harder. Repeated force can damage the small scissor mechanism underneath, turning a cleaning job into a repair job.
Step Two: Wipe the Keycaps Gently
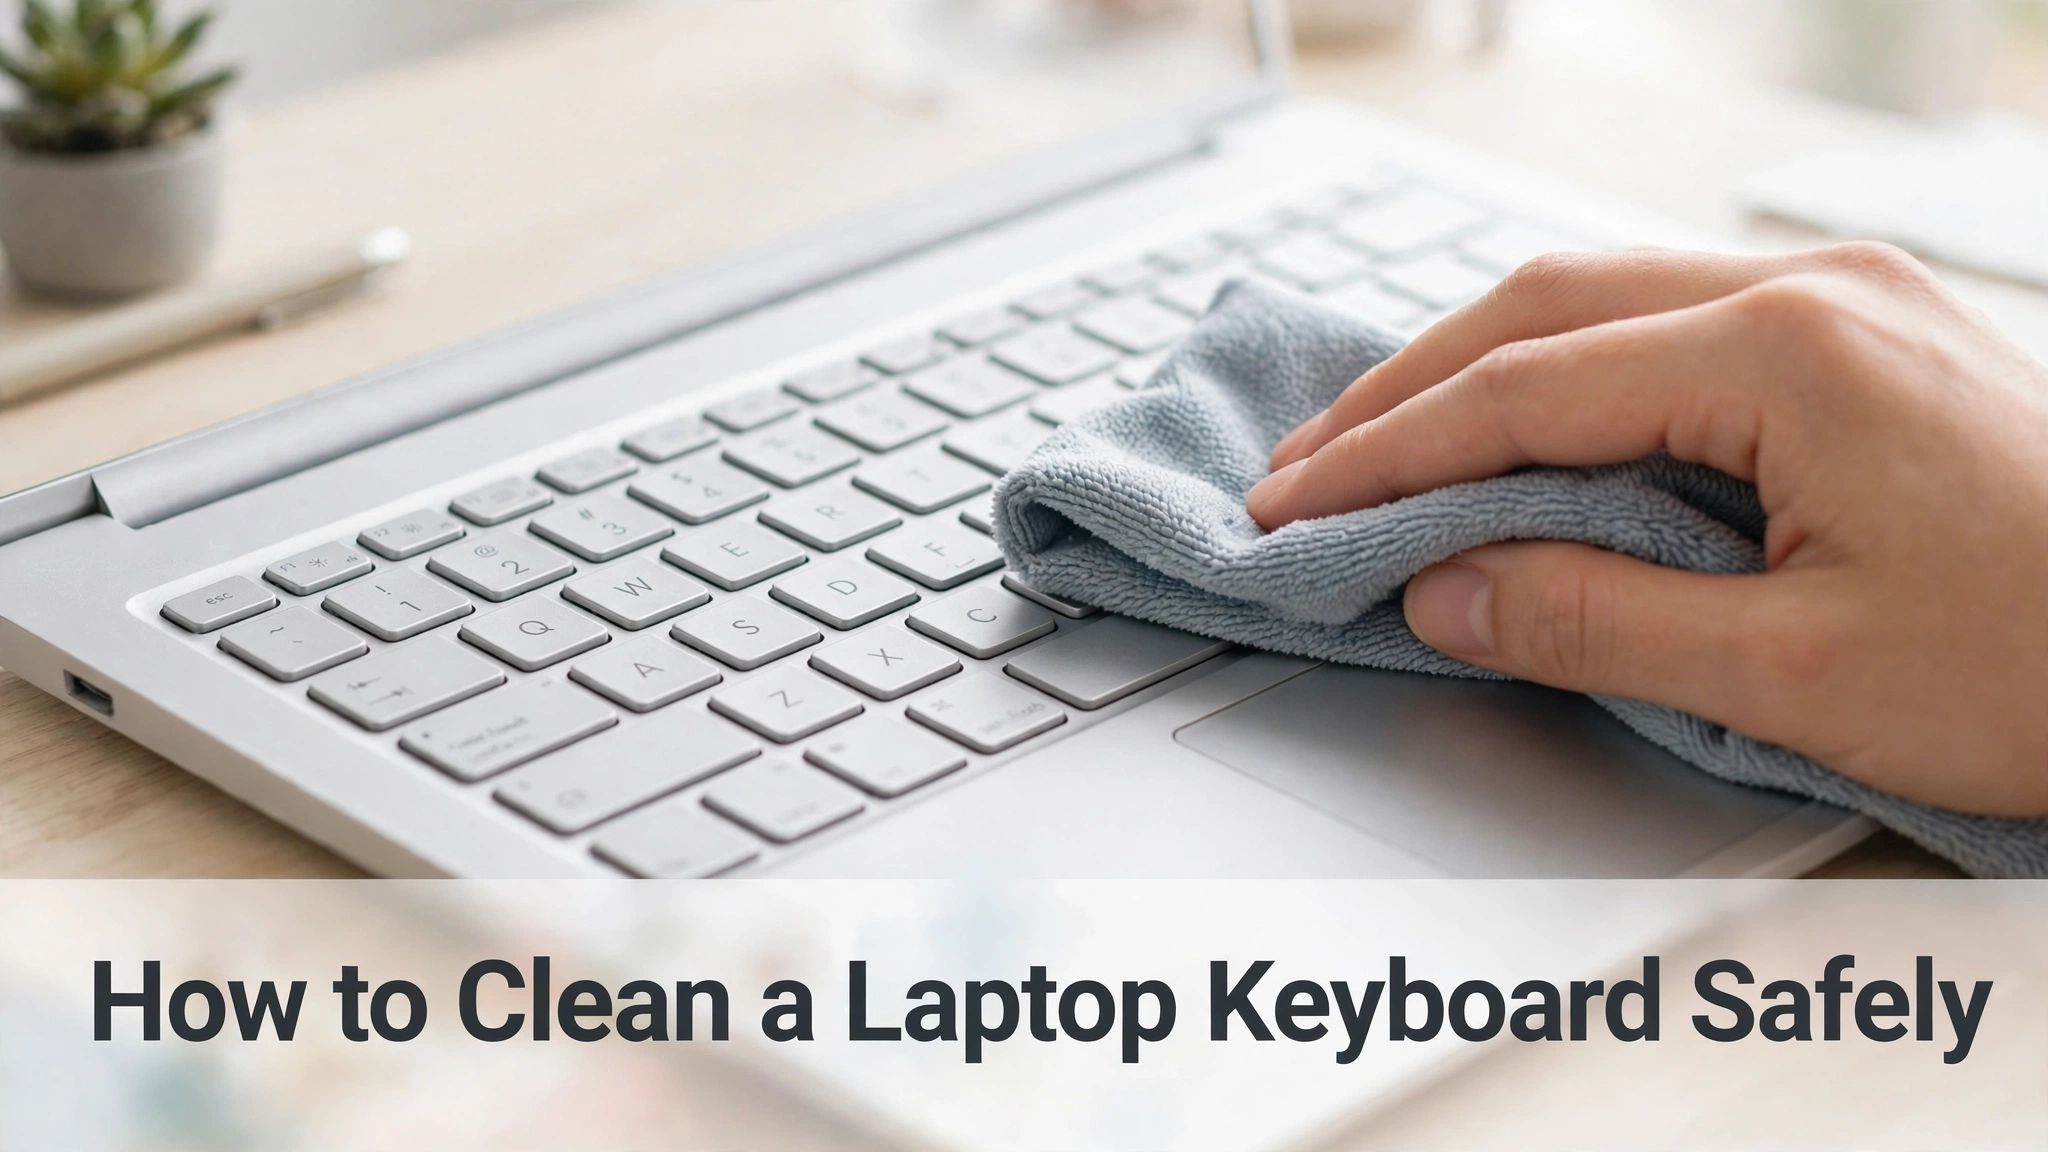
Dampen a microfiber cloth very lightly. The cloth should feel barely moist, not wet, and you should never see drips. Wipe each keycap with light, even pressure, working row by row. For the gaps between keys, wrap the cloth around a finger or use a cotton swab lightly dampened with water or diluted alcohol, depending on your maker’s guidance. Do not pour liquid onto the keyboard, and do not let liquid pool around the keys.
Pay attention to the space bar, enter key, and the keys you use most, because oils build up there first. If a keycap has a shiny worn patch, that is usually the coating wearing from use, not dirt, and scrubbing harder will only make it worse. Gentle, repeated wiping is better than one aggressive scrub. Let the keyboard air-dry for several minutes before closing the lid or powering on. Moisture trapped under a closed lid can condense on the screen, so patience here protects two parts at once.
Sticky Keys and Spills: What to Do First
A sticky key from a sugary drink is different from ordinary dust. Sugar dries into a film that holds the key down or makes it return slowly. If the spill just happened, power off immediately, disconnect the charger, and turn the laptop upside down so liquid drains away from the internals, placing it on a towel. Do not power it on to check whether it still works. Liquid and electricity together cause short circuits, and a laptop that might have survived can be damaged by an early power-on test.
After a spill, allow a long drying period, often at least 24 to 48 hours in a dry, ventilated place, and longer if the spill was large. Do not use a hot hair dryer. If the liquid was only water and the amount was tiny, the laptop may recover after drying. If it was a sugary drink, coffee with milk, or a large amount of any liquid, professional cleaning is the safer choice, because residue can cause corrosion over weeks even if the laptop seems fine at first. Tell the repair technician exactly what spilled and how much, because that information helps them clean the right areas.
Should You Remove Keycaps?
On most modern laptops, the answer is: only if you have to, and only with care. Laptop keycaps attach to a fragile scissor or butterfly mechanism with tiny plastic clips. Pulling straight up with force can snap a clip, and a broken clip can mean replacing the whole key assembly or living with a loose key. Some manufacturers publish keycap removal guidance for specific models, and some business laptops are designed for easier servicing. If your manual does not describe removal, treat the keycaps as fixed.
If a single key is badly stuck and dry plus damp cleaning has not helped, search for your exact model plus keycap removal guidance from the manufacturer or a reputable repair guide, and watch how the mechanism works before touching it. Use a plastic prying tool, not a metal screwdriver, and lift gently from the correct side. Keep the keycap, the scissor mechanism, and any small parts together, and photograph each stage. If anything feels as if it will snap, stop. A professional repair is cheaper than a damaged keyboard assembly.
Cleaning Around the Keyboard and Staying Clean
While the keyboard dries, wipe the palm rest and trackpad with a separate, lightly damp microfiber cloth. These areas collect oils from your hands and can feel sticky even when the keys are clean. Avoid getting moisture into the trackpad edges, speaker grilles, and ports. For the screen, use a different dry microfiber cloth, and only a screen-safe method recommended by your maker, because keyboard cleaning products and screen coatings do not always mix.
Prevention makes the next clean much easier. Keep food and open drinks away from the laptop when possible, or at least to the side rather than directly above the keyboard. Wash your hands after eating before typing. A thin silicone keyboard cover can protect against crumbs and light splashes, but it can also trap heat and change typing feel, so try one for a week before committing. A simple habit of a weekly dry brush and a monthly gentle wipe keeps buildup from becoming a deep clean.
When Cleaning Is Not Enough
Some keyboard problems are not dirt at all. A key that does not register, types twice, or feels physically broken may have a worn switch, a damaged cable, or a fault on the keyboard assembly. If several keys in one row stop working after a spill, or the laptop shows other problems such as not charging, that points to internal damage rather than surface dirt. In that case, stop cleaning and seek professional help, and do not keep using the laptop if you suspect liquid reached the battery area.
External keyboards are a useful workaround while you decide on repair. A USB or wireless keyboard lets you keep working, and for a desktop-style home setup it may even be more comfortable long term. Just remember that an external keyboard does not fix an internal fault, and if liquid damage is suspected, the laptop should still be checked before long-term use.
Cleaning Different Keyboards: Membrane, Scissor and Mechanical Laptops
Not all laptop keyboards are built the same way, and the differences affect cleaning. Most modern thin laptops use scissor-switch keys, where each keycap sits on a small folding mechanism. These keys feel stable and travel a short distance, but their clips are fragile, which is why removal is risky. Older or cheaper laptops may use membrane or rubber-dome designs, where keys press onto a rubber layer. These are often more forgiving of gentle cleaning but can trap liquid more easily because the membrane sits close to the electronics. A few gaming or specialist laptops use low-profile mechanical switches, which feel clickier and may allow keycap removal more safely, but only if the maker says so.
The practical point is to match your method to your model. For scissor keys, stay with dry brushing and damp wiping, and never force a key sideways. For membrane keyboards, be extra careful about liquid, because a spill can spread under the membrane and affect several keys at once. For mechanical-style laptop keys, check whether keycaps are designed to be pulled and whether replacement caps are available before you try. In every case, your exact model’s manual or support page is more reliable than a generic video, because a technique that works on one brand can break another. Cleaning is not one-size-fits-all, even though the tools look the same.
How Often to Deep Clean, and What a Routine Looks Like
A sensible routine has three levels. Daily, keep drinks away and brush off visible crumbs if you eat near the laptop. Weekly, spend two minutes with a soft brush and a dry microfiber cloth, wiping keycaps and the palm rest. Monthly, do a gentle damp wipe of keycaps and a careful clean of the gaps with a lightly damp swab, followed by air-drying. A deep clean, involving careful attention to every gap and possibly professional help, is needed only when keys stick, after a spill, or after long neglect. This tiered routine prevents buildup without exposing the keyboard to constant moisture.
Season and environment change the routine. In a dusty room, near a window, or in a home with pets, weekly dry cleaning matters more, because pet hair and dust settle quickly. In humid weather, allow extra drying time after any damp wipe, and store the laptop in a dry place rather than a damp bag. If you share a laptop with family or colleagues, more frequent wiping is also sensible for hygiene, especially for the trackpad and palm rest, which touch skin constantly. A routine that fits your environment is easier to keep than a perfect routine you abandon after a week, so choose frequency you can actually sustain.
Cleaning a Keyboard You Share, Borrow or Buy Second-Hand
Shared and second-hand laptops need extra care, because you do not know what the keyboard has endured. Before using a borrowed or second-hand machine, do a dry clean and a gentle damp wipe, and check for sticky keys, missing keycaps, or signs of a previous spill, such as discolouration around keys or a sweet smell. If several keys feel different from the rest, note them before you start work, so you can tell the owner or seller about pre-existing issues rather than being blamed for them. A photo taken before cleaning is especially useful in this situation, because it creates a clear record.
For shared family laptops, agree on simple rules: no open drinks directly above the keyboard, hands washed after eating, and crumbs brushed off promptly. These rules work better as shared habits than as one person’s policing, especially with children, who learn faster from a routine they help set than from a warning after a spill. A keyboard cover can help in a shared home, provided it is cleaned underneath regularly, as noted earlier. The goal is not a spotless machine but a machine that everyone can use comfortably without fear of blame when accidents happen, because accidents will happen in any shared home.
When buying second-hand, keyboard condition is also a useful indicator of overall care. A laptop with a clean, fully working keyboard, even with some shine on frequently used keys, has probably been looked after. A laptop with many sticky or missing keys may have suffered spills or rough handling, which could indicate other hidden problems. Ask the seller directly about spills, and test every key, including function keys and the space bar, before paying. A thorough keyboard test takes two minutes and can save a costly repair.
Keyboards, Health and the Way We Type
Typing health is connected to keyboard condition more than most people realise. When keys stick or feel gritty, typists press harder, tense their fingers, and make more errors, which increases fatigue over a long day. A clean, responsive keyboard allows lighter touch and a more relaxed hand position, which supports better posture overall. Ergonomics guides often focus on chairs and screen height, but the keyboard is the part your hands touch constantly, so its condition deserves equal attention. If you type for a living, a clean keyboard is not cosmetic; it is part of your working health.
Typing technique also affects how dirty a keyboard becomes. Heavy-handed typing pushes oils and debris deeper, while a lighter touch keeps keys cleaner and lasts longer. Learning to type with relaxed hands, wrists straight, and fingers curved takes practice, but it pays off in speed, accuracy, and comfort. Pair that technique with a keyboard at elbow height and a screen at eye level, and the whole setup works together. Cleaning is one part of that system, not a separate chore, and thinking of it that way makes the habit easier to maintain.
My Take:
I think most laptop keyboard damage during cleaning comes not from dirt, but from impatience. People reach for a wet cloth, a strong cleaner, or a vacuum because they want the keyboard to look new in two minutes, and that shortcut is what breaks clips, smears coatings, and pushes liquid where it should never go. My approach is deliberately slow: power off, dry clean first, damp wipe second, and dry again before switching on. It takes ten minutes instead of two, but those ten minutes protect a part of the laptop that is expensive and awkward to replace. I would rather have a keyboard that is clean and fully working than one that looks spotless for a day and then loses a key.
I also think prevention deserves more attention than cleaning products. A keyboard cover is not glamorous, and keeping coffee away from the laptop is not exciting advice, but both save more keyboards than any spray. The real cost of a spill is not the cleaning time; it is the days without a laptop, the repair bill, and the worry about lost work. Small habits, such as a weekly brush and keeping drinks to the side, cost almost nothing and compound over the life of the machine. If you work on a laptop every day, treat the keyboard as a tool you maintain, not a surface you rescue only when it looks dirty.
Another belief I hold is that you should know when to stop. There is a moment in every stubborn cleaning job when gentle methods have done their best and force becomes the next temptation. That is the moment to step back. A single sticky key is annoying, but a snapped scissor clip is worse, and a laptop powered on while still wet is worse still. Professional repair feels like a defeat only if you measure success by doing everything yourself. In reality, knowing the limit of a home clean is good judgement, not failure, and it often saves money compared with fixing damage caused by one extra pull or one extra splash.
Finally, I want to challenge the idea that a clean keyboard is only about appearance. Typing feel affects speed, accuracy, and comfort. Gritty keys make you press harder, which tires your fingers over a long day, and sticky keys break your flow when you are writing or coding. A well-maintained keyboard feels almost invisible, and that invisibility is valuable. Clean it gently, clean it regularly, and give it time to dry. Your future self, typing on a smooth, responsive keyboard months from now, will be glad you did.
I also think we should talk honestly about keyboard covers, because advice about them is often too simple. A cover can save a keyboard from crumbs and light splashes, and for students or people who eat at their desks, that protection is real. But a cover can also trap heat, change how keys feel, and hide dirt underneath, where it builds up unseen. My view is to use a cover only if it fits your exact model well, to remove and clean under it regularly, and to remove it during heavy work if the laptop runs hot. A cover is a tool with trade-offs, not a magic shield, and treating it that way leads to better decisions.
Another angle is hygiene, which became more visible in recent years. Keyboards are touched for hours, shared in families and offices, and rarely cleaned as often as phones or hands. A gentle weekly wipe is not only about appearance; it reduces the grime that transfers to your fingers and then to your face, food, and phone. That does not require harsh disinfectants or constant spraying. It requires a simple, regular habit, much like washing hands. If you share a laptop, that habit protects other people too, and it costs almost nothing in time or money.
Finally, I want to return to the idea of respect for tools. A laptop is an expensive, personal machine that many people rely on for work, study, and connection with family. Treating its keyboard gently is a small form of respect for that reliance. It also teaches a broader habit: maintain things before they break, rather than replacing them after they fail. That habit saves money, reduces waste, and builds confidence, because you learn how your tools work. Clean the keyboard gently, dry it fully, and notice how much better typing feels afterward. Small maintenance, done well, is one of the most underrated skills in modern life.
I also want to add a note about children and laptops, because many families now share devices for school. Children are more likely to eat near a laptop, to press keys hard, and to spill drinks, not from carelessness but from enthusiasm and inexperience. The best response is teaching, not scolding: show a child how to brush crumbs, how to wipe keys gently, and why drinks stay to the side. When children help maintain a laptop, they learn responsibility and they take better care of it, because it feels partly theirs. That lesson lasts longer than any cleaning product.
Another thought is about the environment. Replacing a laptop because of a dirty or damaged keyboard creates electronic waste that could often have been avoided with gentle cleaning or a professional key repair. Before replacing a whole machine, ask whether the keyboard can be cleaned, whether a single key can be repaired, or whether an external keyboard can extend the laptop’s life. Extending a laptop’s life by even a year reduces waste and saves money, and it is a more sustainable choice than buying new at the first sign of trouble. Maintenance, in this sense, is an environmental act as well as a practical one.
Finally, I think the best cleaning advice is the simplest: little and often beats rare and aggressive. A two-minute weekly brush prevents the buildup that later requires a risky deep clean, just as regular handwashing prevents illness better than occasional scrubbing. Build the habit into an existing routine, such as Friday afternoon before shutting down for the weekend, and it will become automatic. Your keyboard will feel better, your typing will feel smoother, and you will rarely face the sticky-key emergencies that prompt desperate measures. Small habits, kept consistently, are the real secret to a clean laptop.
Frequently Asked Questions
Can I use alcohol wipes on my laptop keyboard?
Many makers allow wiping hard keycaps with 70 percent isopropyl alcohol, but coatings and materials differ, so check your laptop maker’s cleaning guidance for your exact model first and use a lightly damp cloth, never a soaking wipe.
How often should I clean a laptop keyboard?
A quick dry brush once a week and a gentle damp wipe once a month is enough for most users. If you eat near the laptop or work in a dusty room, you may need to clean more often.
Why does one laptop key feel sticky?
A sticky key is often caused by dried sugary residue, dust, or skin oils under the key. Dry cleaning followed by gentle damp wiping usually helps, but a damaged mechanism will not improve with cleaning and may need repair.
Is compressed air safe for a laptop keyboard?
Yes, when used correctly: hold the can upright, use short bursts from a few inches away, and tilt the laptop so dust can fall out. Do not tilt the can, which can release cold liquid, and do not use long continuous blasts.
What should I do immediately after spilling water on a laptop keyboard?
Power off immediately, disconnect the charger, turn the laptop upside down on a towel so liquid drains out, and do not switch it on to test it. Allow a long drying period and seek professional help if the spill was large or sugary.
Can I remove laptop keycaps to clean underneath?
Only if your manufacturer describes safe removal for your exact model. Laptop key mechanisms are fragile and clips can snap easily, so if you are unsure, use dry and damp cleaning without removing keys, or ask a repair professional.