Halloween Nail Art Designs Easy
In this post
Picture a kitchen table on a quiet evening. A bottle of orange polish, a bottle of black, a toothpick, and a phone playing a spooky playlist. Ten nails, five tiny pictures, and an hour that feels more like play than beauty work. That is Halloween nail art at its best: small, silly, and completely doable at home.
You do not need steady artist hands. You need patience, a toothpick, and designs that forgive wobbles. A pumpkin with a slightly crooked smile still looks like a pumpkin. A ghost with uneven eyes still looks like a ghost.
I think small nails suit tiny designs better than long ones, because one clear picture on each nail reads better than a crowded scene squeezed onto a fingertip.
What You Need
- A base coat, so the colour does not stain your nails
- Orange, black, white, and purple polish
- A toothpick or a bobby pin for dots and lines
- A top coat to seal everything
- Nail polish remover and cotton buds for quick fixes
That is all. No special pens, no salon visit, no kit ordered online.
Five Designs Anyone Can Try
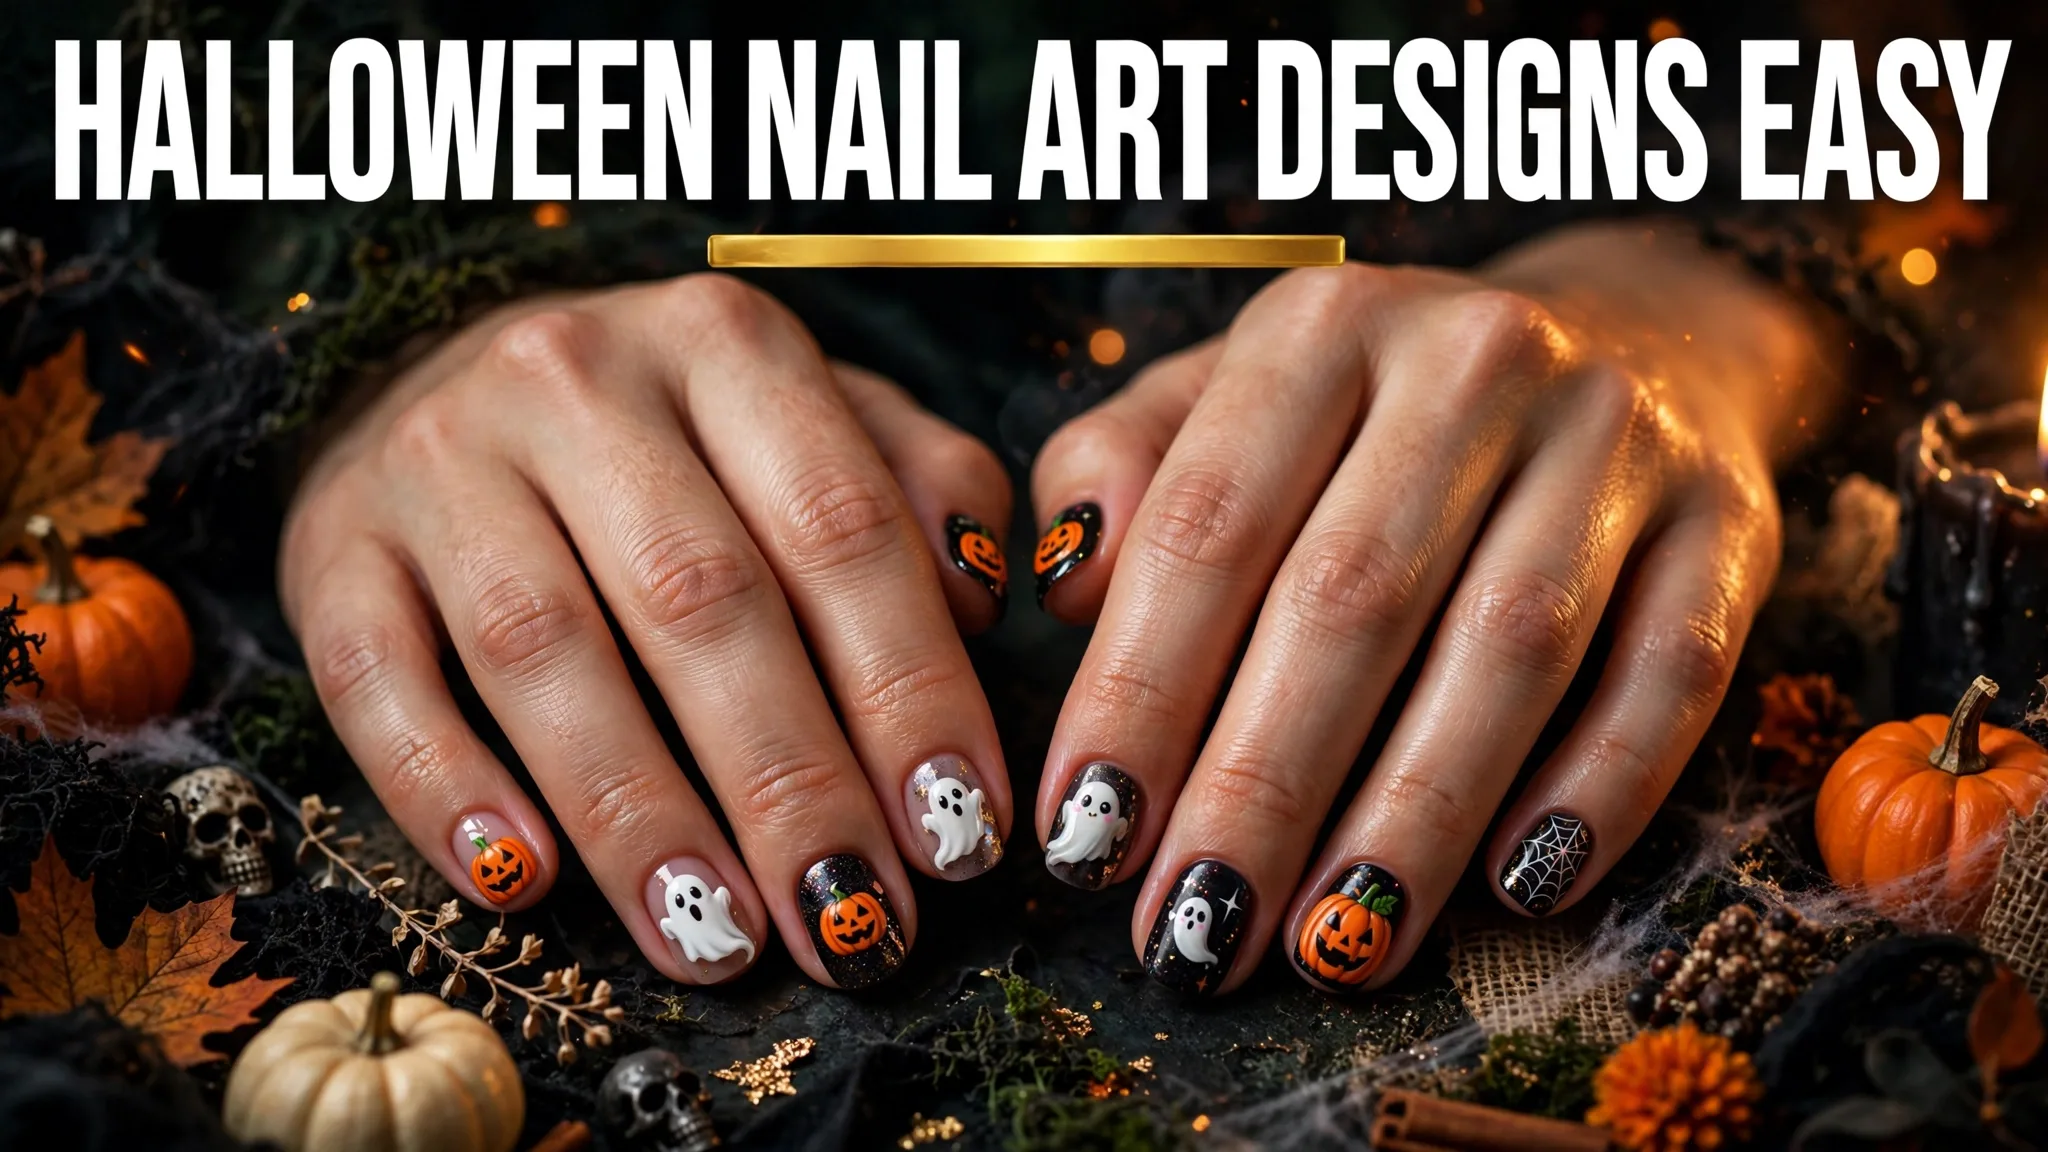
1. The Little Pumpkin
Paint the nail orange. When it dries, add a small black triangle for each eye and a zigzag mouth with the toothpick. A tiny green line on top becomes the stalk. This is the easiest design on the list, and it always gets noticed first.
2. The Friendly Ghost
Paint the nail black or dark purple. Then paint a white blob shape in the middle, wider at the top and wavy at the bottom. Two black dots become the eyes. A ghost on a dark nail glows like a small night sky.
3. The Spiderweb
Paint the nail white or pale grey. With black polish on the toothpick, draw three lines spreading out from one corner, like a fan. Then join them with small curved lines. It looks complicated. It takes about two minutes.
4. Candy Corn Stripes
Paint the nail white. Add a thick orange stripe across the middle and a yellow stripe near the tip. Three stripes, one nail, instant candy corn. This design works beautifully on short nails.
5. The Tiny Bat
Paint the nail purple. Paint a black oval in the centre, then add two small wings on each side with the toothpick. Two white dots for eyes finish it. Bats look best on the ring finger, where they get the most attention.
Mistakes That Ruin The Look
The biggest mistake is rushing the drying time. One wet layer under another turns into a smudge, and a smudge turns into a redo. Let each layer dry fully, even if it feels slow. The second mistake is painting all ten nails with different designs. Pick one or two designs and repeat them, and the whole hand looks planned instead of panicked.
If a line goes wrong, do not start over. Wait for it to dry, then fix it with a cotton bud dipped in remover. Tiny fixes are invisible under a top coat.
Making It Last All Night
A beautiful design means little if it chips before the party starts. The trick is thin layers. Two thin coats of colour last longer than one thick coat, because thick polish stays soft underneath and dents at the smallest touch. Let each coat dry until it feels hard, not just dry on the surface.
A top coat is not optional. It is the clear shield that stops chips and keeps the little pictures sharp. Apply it over the whole nail, including the very tip edge, because chips almost always start at the tip. If you are going to a party in the evening, paint your nails the night before or in the morning, never an hour before leaving.
Gloves help while washing up or cooking. Water and heat soften polish fast, so keep hands out of hot water for the rest of the day. If one nail does chip, fix only that nail. A single repair blends in fine, while repainting all ten nails in a rush usually makes things worse.
Removing It Without Damage
When the week is over, soak a cotton pad in remover, press it on the nail for a few seconds, and wipe gently in one direction. Scrubbing hard or peeling polish off by hand pulls up thin layers of the nail itself, and that damage lasts longer than any design. After removal, rub in a little hand cream or oil and let your nails rest for a day before the next colour.
Seal everything with a top coat, wait a little longer than you think you need to, and then show your hands off. Halloween is only one night, but a good set of spooky nails makes the whole week feel festive.